Google Meet: Step-by-Step Guide to Using Picture-in-Picture
In today’s digital age, online meetings have become a norm, and Google Meet is one of the leading platforms facilitating this virtual interaction. Whether for business conferences, educational sessions, or casual meetups, the need for multitasking during these meetings often arises. This is where the Picture-in-Picture (PiP) feature becomes incredibly useful. PiP allows you to keep your Google Meet session visible while you work on other tasks, enhancing productivity and ensuring you don’t miss any crucial part of your meeting.
In this guide, we’ll walk you through the steps to use Picture-in-Picture with Google Meet effectively.
What is Google Meet?
Google Meet is a video-communication service developed by Google. It is designed to facilitate online meetings, webinars, and virtual interactions. Initially part of Google Hangouts, Google Meet has evolved into a standalone product, offering features like high-definition video conferencing, real-time captions, screen sharing, and integration with Google Workspace. Its user-friendly interface and robust performance make it a popular choice among professionals and educators alike.
Steps to Use Picture-in-Picture with Google Meet
- In Your Meeting, Click More Options
- Start Your Google Meet Session: Join or start a meeting as you normally would.
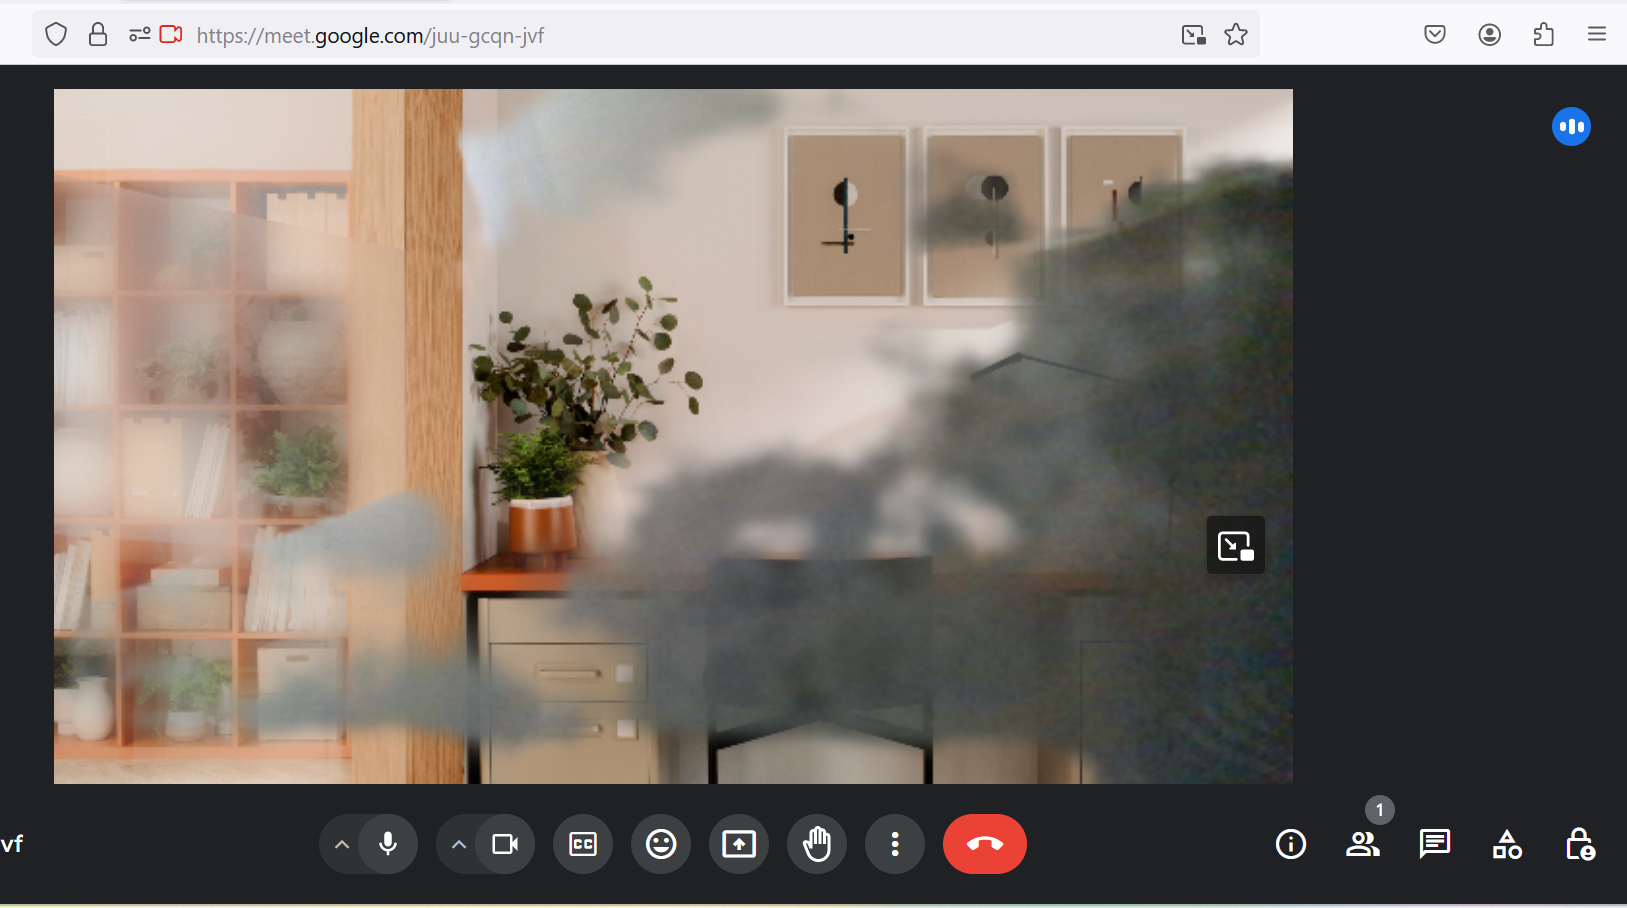
- Access More Options: At the bottom of your screen, click on the three vertical dots labeled “More options.”
- Click Open Picture-in-Picture
- Activate PiP Mode: From the More options menu, select “Open picture-in-picture.” This will shrink your meeting window to a small, floating version.
- Small Version of Your Meeting UI
- View Your Meeting: At the bottom right of your screen, a small version of your meeting UI will be displayed.
- Move the PiP Window: Click at the top of the floating meeting window and drag it to any position on your screen.
- Resize the PiP Window: Click and drag an edge of the window to resize it according to your preference.
- Navigate to Other Tabs, Windows, or Applications
- Multitask Efficiently: With the PiP window active, you can navigate to other tabs, windows, or applications while keeping the meeting in view. The PiP window will stay on top of other windows, ensuring you don’t miss any important part of your meeting.
Using PiP on Mobile Devices
While PiP mode is more common on desktops, some mobile devices support this feature as well:
- Android Devices: Ensure your device is running Android 8.0 (Oreo) or later. Open Google Meet, join a meeting, and press the home button. The video should automatically shrink to a PiP window.
- iOS Devices: Apple devices with iOS 14 or later support PiP. Start your Google Meet session, swipe up from the bottom (or press the home button), and the video will minimize to a floating window.
In short, Picture-in-Picture is a powerful feature that enhances your multitasking capabilities during Google Meet sessions. Whether you’re taking notes, browsing the web, or working on a project, PiP ensures you stay connected and engaged in your meeting without sacrificing productivity. By following the steps outlined above, you can easily activate PiP on both desktop and mobile devices, making your virtual interactions more efficient and seamless.
Remember, mastering tools like PiP can significantly improve your digital workflow. Happy multitasking!


